
Powering Sheds and Detached Structures Safely
Detached structures are becoming a staple of the modern home in Greenville. Homeowners are transforming simple storage sheds into fully functional workshops, home offices, art studios, and entertainment spaces. The rise of the she shed and the man cave has turned the backyard into an extension of the living area. These spaces offer privacy and separation from the main house. To be truly useful, however, these structures need power. A dark shed is just a storage locker. A powered shed opens up endless possibilities for climate control, lighting, and heavy machinery.
Bringing electricity to a detached building is a major undertaking. It is not as simple as running a wire from the garage. It involves digging trenches, calculating heavy electrical loads, and installing subpanels. It requires strict adherence to the National Electrical Code to prevent fire and shock hazards. Many homeowners underestimate the complexity of this task. They often resort to dangerous temporary solutions or attempt to perform the work themselves without understanding the critical safety requirements. Powering a shed correctly is an investment in safety and property value. It requires planning, precision, and professional expertise.
The Danger of Temporary Solutions
The most common mistake homeowners make is relying on extension cords to power their sheds. It is easy to understand the temptation. You need to run a saw or a light for a few hours, so you drag an orange cord across the lawn. The problem arises when this temporary fix becomes permanent. Extension cords are not designed for long term outdoor use. They are susceptible to damage from sunlight, rain, and lawn equipment. A nick in the insulation can expose live wires to wet grass, creating a lethal shock hazard for children or pets playing in the yard.
Beyond the physical danger, extension cords suffer from voltage drop. Electricity loses pressure as it travels over a distance. If you run a hundred foot cord to your shed to power a table saw or a heater, the voltage at the end of the cord will be significantly lower than at the outlet. This drop in voltage causes motors to overheat and burn out. It causes lights to dim and flicker. It puts a strain on your tools and your home circuitry.
Using an extension cord as permanent wiring is also a fire hazard. The resistance in the cord generates heat. If the cord is coiled up or covered by leaves or a rug, that heat cannot escape. The insulation melts, and a fire starts. This practice is a direct violation of the electrical code. Insurance companies are well aware of this risk. If a fire starts in a shed powered by an extension cord, your claim will likely be denied. You need a permanent, underground solution that is safe and code compliant.
Assessing Your Power Requirements
Before a single shovel hits the dirt, you must determine exactly how much power you need. This is known as a load calculation. You need to be realistic about what you will use in the shed. Are you simply charging a few cordless drill batteries and running a single LED light? Or are you planning to run a welder, a table saw, a dust collector, and a window air conditioning unit? The difference between these two scenarios is massive.
If your needs are minimal, a single 20 amp multiwire branch circuit might suffice. This can run a few lights and standard outlets. However, most homeowners find that their needs grow over time. You might start with a light but decide later to add a heater or a mini fridge. If you only installed a small circuit, you will be stuck. You will have to dig up the yard again to upgrade the wiring. It is almost always better to plan for more power than you currently need.
For a robust workshop or a livable office space, a subpanel is the correct choice. A subpanel acts like a satellite version of your main breaker box. It allows you to have multiple circuits in the shed. You can have a dedicated circuit for lights, a separate one for outlets, and a 240 volt circuit for a heater or heavy machinery. Installing a 60 amp or 100 amp subpanel gives you the flexibility to expand in the future without expensive rework. Whiting Electrical Services can help you audit your anticipated usage to size the feeder wires and panel correctly.
The Complexities of Underground Wiring
Getting power from your house to the shed requires burying the wires. You cannot just string them through the trees. Underground wiring is subject to strict rules regarding depth and materials to protect the conductors from physical damage. You cannot simply bury standard indoor wire. It will rot and fail when exposed to moisture and soil acidity. You must use cable specifically rated for direct burial, such as UF B cable, or individual waterproof conductors run inside a protective conduit.
Conduit is generally the superior method. It involves running a PVC pipe from the house to the shed. The wires are then pulled through this pipe. Conduit offers excellent protection against shovels, rocks, and rodents. It also allows you to replace or upgrade the wires in the future without digging up the trench again. Direct burial cable is cheaper upfront but offers less protection and no upgradability.
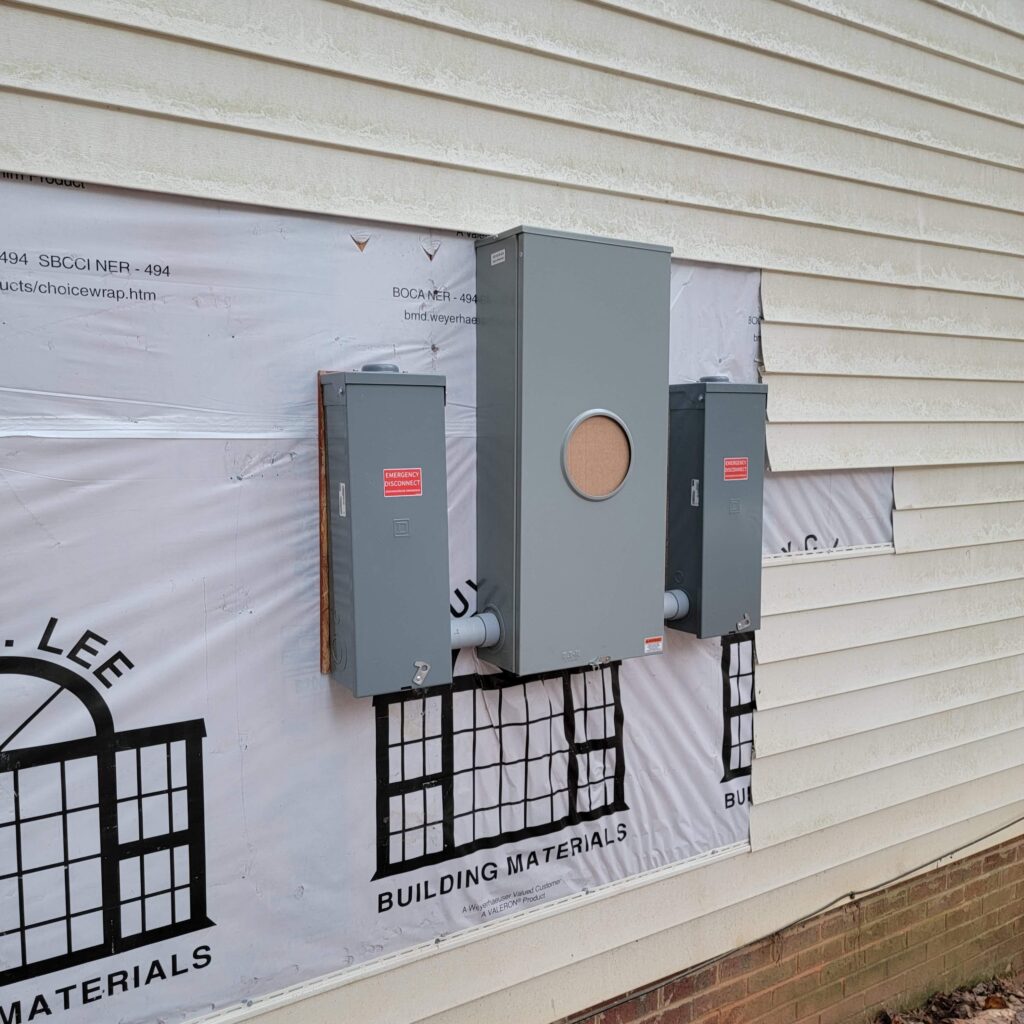
Need an electrical panel upgrade? Click here for our electrical panel upgrade service.
The depth of the trench is non negotiable. The National Electrical Code mandates specific depths depending on the wiring method. For direct burial cable, the trench generally needs to be 24 inches deep. For PVC conduit, it is typically 18 inches. If you are crossing under a driveway, the requirements change again. Digging a trench to these specifications is hard labor. It must be consistent and free of sharp rocks that could damage the pipe or cable. Professional electricians use trenching equipment to ensure the depth is correct and safe across the entire run.
Managing Voltage Drop Over Distance
Detached structures are often located far from the main house. Distance is the enemy of electricity. As electricity flows through a wire, it encounters resistance. This resistance turns some of the electrical energy into heat, resulting in a drop in voltage at the receiving end. If your shed is fifty or one hundred feet away from your main panel, using standard wire sizes will result in poor performance.
The code recommends that voltage drop should not exceed three percent for the furthest outlet. To overcome this, we often have to “upsize” the wire. If a calculation calls for a number 12 wire, we might install a thicker number 10 or number 8 wire to compensate for the distance. This ensures that when you turn on your table saw, it receives the full 120 or 240 volts it needs to run efficiently.
Ignoring voltage drop is a common amateur mistake. A DIY installation might result in lights that dim significantly when a motor starts or tools that lack power and stall easily. This creates excessive heat in the motor windings and shortens the lifespan of your expensive equipment. Calculating the correct wire gauge for the distance and the load is a mathematical necessity for a safe and functional shed.
The Necessity of a Grounding System
One of the most critical and often misunderstood aspects of powering a separate structure is grounding. When you install a subpanel in a detached building, you cannot simply rely on the ground wire coming from the main house. The code requires the detached structure to have its own grounding electrode system.
This typically involves driving two copper ground rods into the earth near the shed. These rods must be spaced at least six feet apart and bonded to the subpanel with a heavy copper wire. This creates a direct path to the earth at the location of the shed. This is essential for protecting the structure from lightning strikes and minimizing voltage spikes.
Furthermore, you must separate the neutral wires from the ground wires in the shed’s subpanel. In your main house panel, neutrals and grounds are bonded together. In a subpanel, they must be isolated. This prevents “objectionable current” from flowing on the ground wire under normal conditions. If you fail to separate them, electricity can travel on the metal casing of your tools or the conduit itself, creating a shock hazard. This is a specific technical detail that fails many DIY inspections.
Disconnects and Switch Locations
Safety demands that you be able to cut power to the shed quickly in an emergency. The electrical code requires a disconnecting means at the detached structure. You should not have to run back to the main house to turn off the power if there is a fire or an electrical fault in the workshop.
For a structure powered by a single circuit, a simple light switch located where the power enters the building can serve as the disconnect. For a building with a subpanel, the main breaker inside that subpanel usually serves as the disconnect. This switch must be readily accessible. It cannot be locked inside a cabinet or blocked by shelving. It must be clearly labeled so that anyone, including emergency responders, can find it and shut down the power instantly.
We also plan the layout of switches inside the shed for convenience and safety. You need a light switch immediately inside the door so you never have to walk into a dark room full of tools or obstacles. Exterior lighting should also be controlled from inside the shed or via a motion sensor to provide security and safe access at night.
GFCI Protection in Outbuildings
Sheds, garages, and workshops are considered locations with increased risk of shock. They are often unheated, prone to dampness, and usually have concrete or dirt floors. Because of this, the code requires Ground Fault Circuit Interrupter protection for all standard 120 volt outlets.
Want to know how to test a GFCI outlet? Click here for more information.
A GFCI device monitors the current flowing to an appliance. If it detects even a tiny amount of electricity leaking to the ground, which could happen if you touch a live wire while standing on a damp floor, it cuts the power in a fraction of a second. This protection is vital for anyone using hand power tools. A frayed cord or an internal short in a drill could be fatal without a GFCI.
You can achieve this protection by using GFCI circuit breakers in the subpanel or by installing GFCI receptacles at the first outlet in each circuit. We ensure that every outlet in your detached structure is protected. We also recommend using weather resistant outlets, which have corrosion resistant components to withstand the temperature swings and humidity typical of an outdoor structure in Greenville.
Interior Wiring and Lighting Choices
Once the power is safely brought to the building, the interior wiring must be installed to the same standard as your main home. This means using proper electrical boxes, securing the wire to the framing, and protecting the wire from physical damage. In an unfinished shed with exposed studs, you cannot just run standard Romex cable along the surface of the walls below a certain height. It must be protected in conduit or running boards to prevent it from being snagged by tools or lumber.

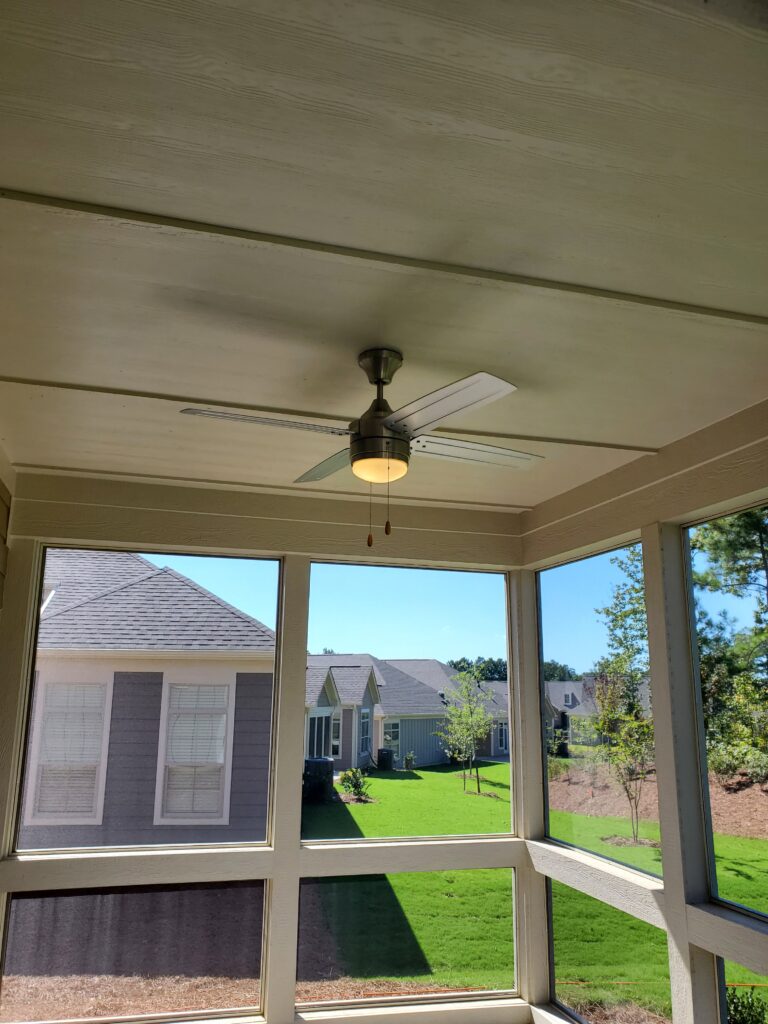
Lighting is a key consideration for a workshop or studio. Old fluorescent shop lights are notorious for flickering and failing to start in cold weather. We recommend modern LED lighting fixtures. LEDs are instant on, regardless of the temperature. They provide bright, even light that is essential for detailed work. They are also energy efficient, which helps keep the electrical load down.
For outlets, placement is key. In a workshop, we typically install outlets much higher than in a living room, often at fifty inches above the floor. This places them above the height of a workbench, making them easy to access without bending down. We also install plenty of outlets to prevent the need for power strips. Dedicated circuits for heavy tools like air compressors or dust collectors ensure that turning on one tool does not trip the breaker for the lights.
The Role of Permits and Inspections
It cannot be stressed enough that running power to a detached structure is permitted work. You must obtain an electrical permit from the city or county before starting. This process involves submitting a plan that shows the load calculations, the wire types, the trench depth, and the grounding method.
An electrical inspector will visit the site at least twice. First, they will inspect the trench before you fill it in. They verify the depth and the conduit type. Later, they will inspect the final rough in wiring and the panel installation. These inspections are your guarantee that the work meets the minimum safety standards of the National Electrical Code.
Skipping the permit process is illegal and dangerous. It creates a liability for you. If you sell your home, unpermitted electrical work to a shed will be flagged by the buyer’s inspector. You may be forced to dig up the yard to prove the trench depth or rip out the walls to expose the wiring. It is far cheaper and safer to do it right the first time with a licensed professional who handles the permitting process for you.
Powering a shed or detached garage unlocks the full potential of your property. It gives you space to create, work, and relax. However, bringing high voltage electricity across your yard is a serious construction project. It involves lethal voltages, strict code requirements, and physical labor. The risks of improper trenching, incorrect grounding, and overloaded circuits are too great to ignore.
A detached structure requires a permanent, safe, and professional electrical installation. It needs to be grounded correctly, protected by GFCIs, and inspected by the local authority. Do not gamble with extension cords or amateur wiring. Protect your family and your investment by hiring a team that understands the code and respects the power of electricity. Contact Whiting Electrical Services in Greenville, NC, to discuss your project. We can help you design a power plan that meets your needs today and allows for future growth, ensuring your shed is safe, bright, and ready for work.